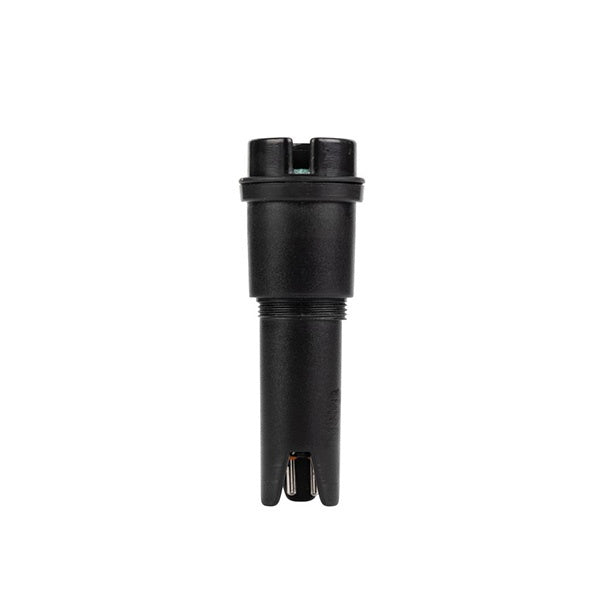
Aqua Master replacement electrode - P50 pro
Aqua Master Replacement Electrode for P50 Pro pH Meter, the ultimate solution to maintain peak accuracy and reliability in your pH measurements. Crafted from durable materials, this replacement electrode ensures optimal performance, allowing your P50 Pro pH Meter to deliver precise readings consistently.
Designed for versatility, the Aqua Master Replacement Electrode P50 Pro is perfect for various applications, including swimming pools, spas, hydroponics, and more, thanks to its IP67 waterproof classification. Whether you want a spare on hand or need to replace a broken electrode, this electrode is the ideal choice.
Replacing the electrode is a breeze with the user manual's straightforward instructions. Simply unscrew the sealing ring in the meter's lower section, remove the old electrode, and gently screw in the new one, ensuring correct connection of the connectors while taking care not to damage the meter or electrode. After confirming that the rubber seal is in place, tighten the sealing ring. Before use, calibrate the meter as instructed in the handbook to ensure accurate and reliable readings.
Never compromise the accuracy of your pH measurements with a broken electrode. Get the Aqua Master Replacement Electrode P50 Pro to maintain peak efficiency and precision in your pH Meter. Order now and elevate your pH measurement experience to new heights!
If you follow the instructions in the manual that came with your gadget, swapping out the electrode is a breeze. The Aqua Master replacement Electrode requires only a few easy steps to get up and running and providing you with precise and trustworthy readings.
- Properly unscrew the sealing ring in the lower part of the meter.
- Remove the defected/old electrode by gently pulling it.
- Carefully place the new electrode with the recess in the correct position so that the connectors properly connect and do not damage the meter or electrode.
- Check that the rubber seal is properly placed.
- Tightly tighten the sealing ring.
- Calibrate the meter as described in this manual.
- The meter is now ready for use.
Delivery time
All orders are processed within 1 business day. We endeavour to fulfill orders received before 2 pm on the same day as the order is placed, Monday - Friday.
Orders are not shipped or delivered on weekends or holidays.
Estimated delivery time is 2-3 Days in South Africa
